Kieran’s Our City, Our Town Article,
Cork Independent, 11 November 2021
Journeys to a Truce: A Daring Escape from Spike Island
A very insightful exhibition on some of the key Irish War of Independence figures from Passage West town takes place in the town’s museum at present. One of the figures presented is Henry O’Mahony, who in November 1921 as well as six others made a daring escape from the Internment Camp in Spike Island.
Henry was born in Passage West and attended the local national school. At the age of sixteen, he was indentured as an apprentice engine filter in Haulbowline dockyard where he continued to work after his apprenticeship was over.
Henry joined the IRA in 1917 and became Company captain and Deputy Commandant of the 9th Battalion, Cork No.1 Brigade. He was active in politics and was elected on the Sinn Féin ticket to the first meeting of the newly formed Passage West Town Commissioners on 14 July 1920. Five days later he was elected chairman of the body.
Not long afterwards Henry was arrested in Glenbrook and was one of 500 prisoners interned in Spike Island. At the next meeting of the town commissioners a few days later the clerk stated he had received a letter from the chairman stating that circumstances prevented him from attending meetings for the time being.
Henry in his Bureau of Military History account (WS1506) outlines his escape through tunnels and a boat escape on 10 November 1921. Henry, with six other Volunteer Officers, Maurice Twomey, William Quirke, Tom Crofts, Dick Barrett, Paddy Buckley and Jack Eddy got away under cover of darkness. Henry notes: “We tunnelled through a wall surrounding the prison which was the inside of a moat. We then scaled the outside wall by means of a timber ladder made from the joists of the flooring of the prison which we had by then wrecked. We made our way to the coast and eventually to the pier where we saw a guard on duty. When the guard left, Eddy waded out and brought to the pier a boat into which we tumbled into and, with the aid of a storm, succeeded in reaching Cobh and safety”.
The Passage West Exhibition also has more detailed descriptions of the escape by Volunteer William (Bill) Quirke. It took two full months to complete the plans – each member of the group of seven detailed for the escape attempt had certain tasks to complete. They worked in shifts making notes, charts to the changes of the moon, the height of the tide and, above all the operation of the search lights. A rope ladder was made from rungs of chairs and electric light flex. It was a range of seven men or try to escape.
On 10 November 1921 at 5pm, the group crowded into a hole in the wall at the back of one of the blocks and entered an old used passageway leading to the moat. The stones were immediately replaced by comrades. They then crouched in silence listening to the walk of the sentry as he marched to and fro on his regular beat above their heads. In addition it was a while and stormy night.
Bill relates in his account: “Now the accuracy of our time chart was put to the test. We knew it was only a matter of minutes before the searchlights started and that we must get over the second wall before going into the limelight, so to speak. It was an anxious time…Each time the sentry clicked his heels, which meant he was about to march back on the return beat, one of the two men dropped over the parapet and onto the island proper…We were all over the second wall and had the ladder clear when the torchlight swing into action”.
With very slow stages the group reached the boat on which they had planned to make their escape only to find that it would take a steam engine to shunt it to the water’s edge. Bill remarks that the group had heard about the boat from some prisoners who were taken out in a barbed wire cage to bathe during the summer. They went to an old outhouse to review the situation when a further complication arose. A soldier and a girl came in. It was an hour before they left. They were not aware of the group’s presence.
The group moved to the water’s edge and worked their way around the island to the pier. They knew that some boats were usually anchored on either side of the pier. Two pier guards marched briskly towards them but did not see them.
When the guards had gone some distance, the group made for a boat only to find that it was chained and locked. Two further boats were tried with a similar result. It was time for quick action. One by one they slipped across the pier and down the steps at the other side. Again, the first two boats were chained to the pier – but there was still another boat apparently anchored out abit from the others. Jack Eddie, from Ardmore, swam out to investigate. He came back and reported that it was anchored with a rope. Silently he entered the water again with a knife between the teeth.
Bill relates: “Jack swam out; cut the rope and paddled with her alongside. One by one way we took our seats. Dick Barrett beside me. Moss Twomey from Fermoy and Henry O’Mahony were in the next seat. Paddy Buckley from Mitchelstown and Tom Crofts from Cork were in the next while Jack Eddy steered”.
The group narrowly missed the patrol boat and they thought they were safely away when on came the big search light. It stopped in the water just a few feet short of the boat. Henry O’Mahony directed their course and at 3am they scrambled ashore at Cobh. Each one then began their journey back to their home area.
The Irish War of Independence Exhibition is currently open in Passage West Museum. More information on opening times from this website, www.passagemuseum.ie.
Captions:
1125a. Henry O’Mahony in a peaked cap, centre back of this old photograph from Spike Island Internment Camp (source: Spike Island Heritage Centre).
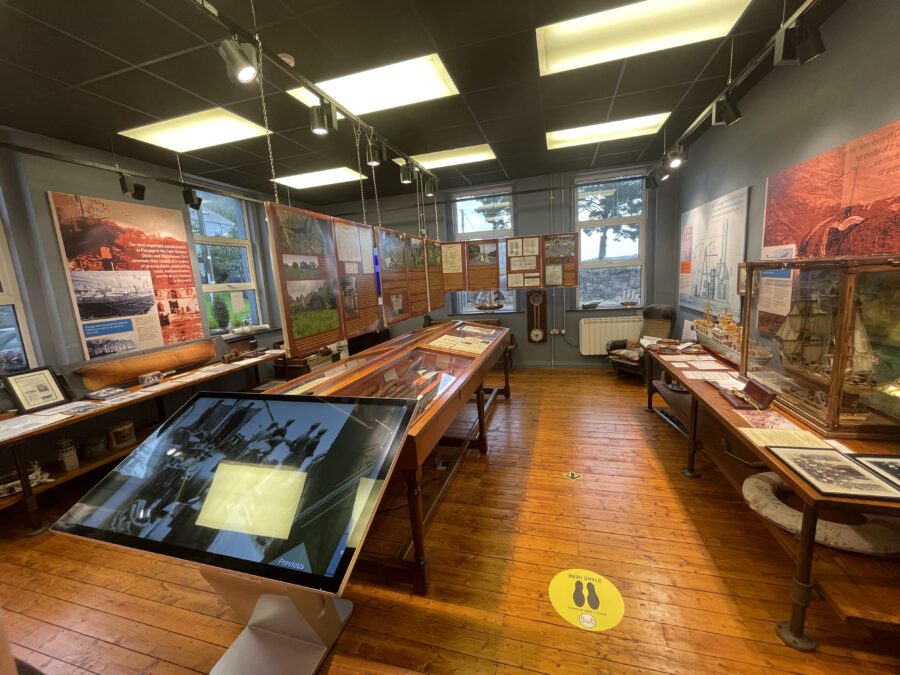
1125b. View of interior of Passage West Museum, present day (picture: Kieran McCarthy).
